
BucketEars - Completely reconfigure into board boat
So a friend of mine wanted to go for a sail in BucketEars.
He came by and we took his car to the lake.
Happens to be a very rich friend, he drives a Ferrari.
Unfortunately a couple of days before, he had seen the movie Fast and Furious.
Eager to show me how talented of a driver he is, he said "Here, hold my beer and watch this!!!"
Then he proceeded to swerve and drive under the bed of a semi-tractor trailer.
The car made it just fine, but half way thru I said "What about my boat !!!".
With a loud CRUNCH, the upper 6" of my hull was sheered off clean.
Well nuts, what am I going to do now?
Here is the real deal -- I just had an uncontrollable itch to make a really short hull that was like a board boat (like a Sunfish) and I completely reconfigured my boat. After I was done and used it like this for a while, I didn't like how it turned out, and the hull after this one is 16" high and that works really well. The reason I am presenting this article is to demonstrate how easy it is to reconfigure a pdracer.
All my plans start out with a sketch, thought you might like to see some of my chicken scratching. I didn't use exact plans, just a sketch of the ideas I was thinking of.
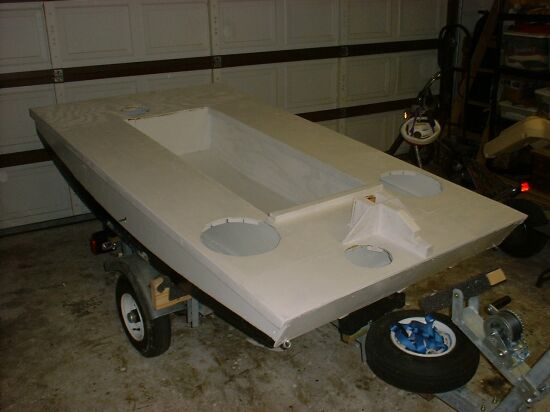
To start the reconfiguration, I drew a line all around the boat to the new height I wanted.
To cut the bulkheads, I pulled a string across from the side cuts to mark where it should be chopped.
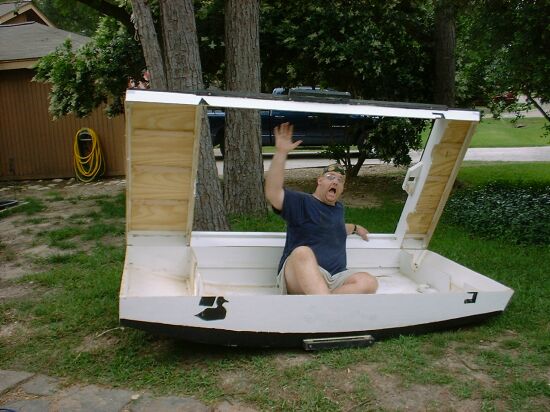
Whoaaa !!!
Did I mention that I forgot to paint under the decks last time?
Didn't think anyone would see those...
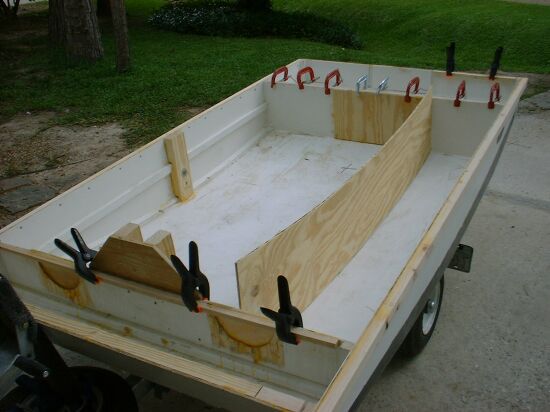
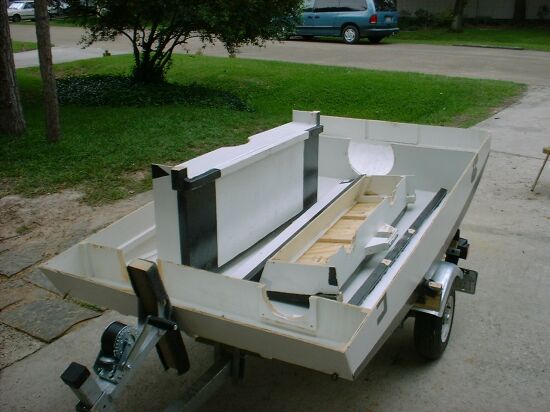
Adding in the new bulkheads for the airtanks, and added a big backup block for a swing leeboard.
Also covering up the access plates in the old airtanks.
Making a little more progress.
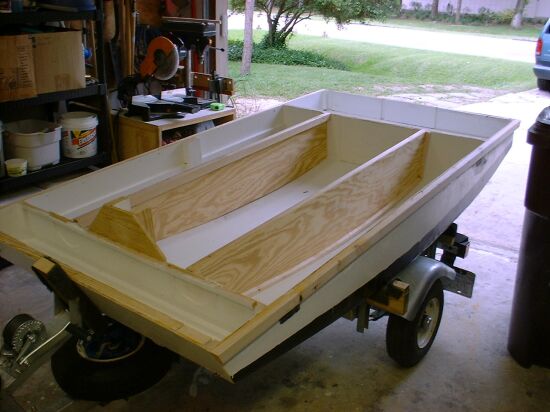
Here are the new decks when turned upside down.
They each have an ample supply of ribs to stiffen them up.
That way I can sit on the side decks and it won't break the plywood.
Without the ribs, the plywood would break.
Glued and nailed the decks on.
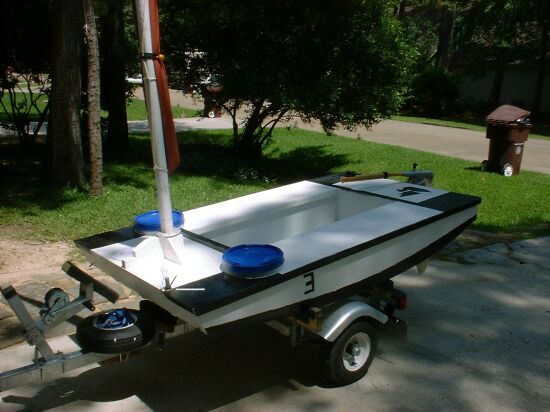
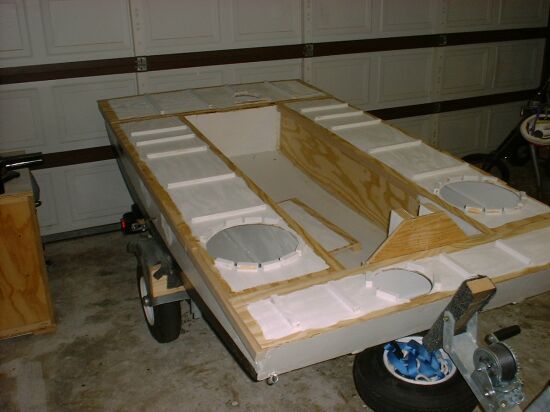
Sporting her classic paint job, I even decided to keep the backwards E. You know it is a '3' right?
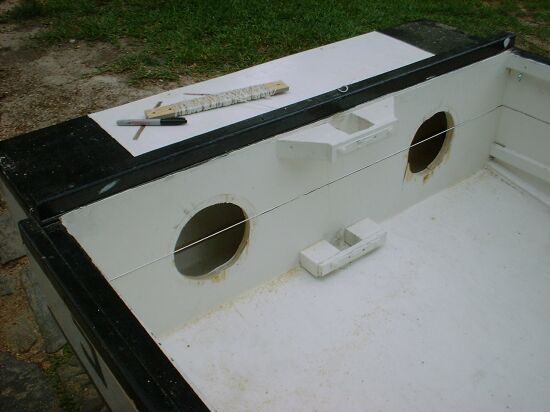
I cut the rim off the top of a couple of buckets and use them plus the lids so I could access inside the air tanks.
Turns out they are just right so I can slide some oars down the air tank.
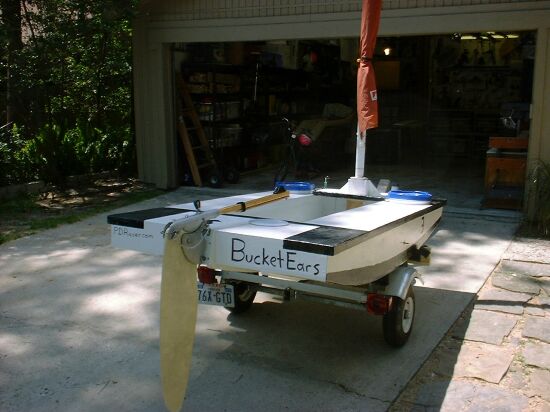
I wrote PDRacer.com on the transom to get a little advertising while trailering down the road.
It wasn't big enough, so soon I painted over, and put a much larger PDRacer.com on there that was easier to read.

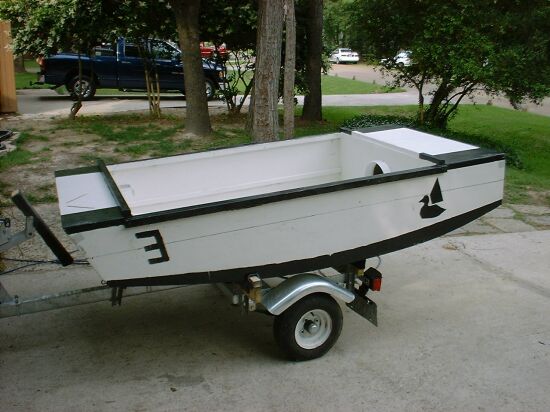
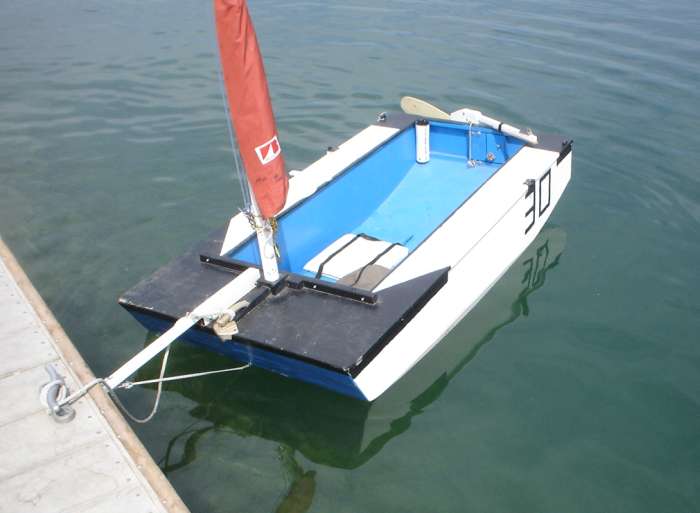
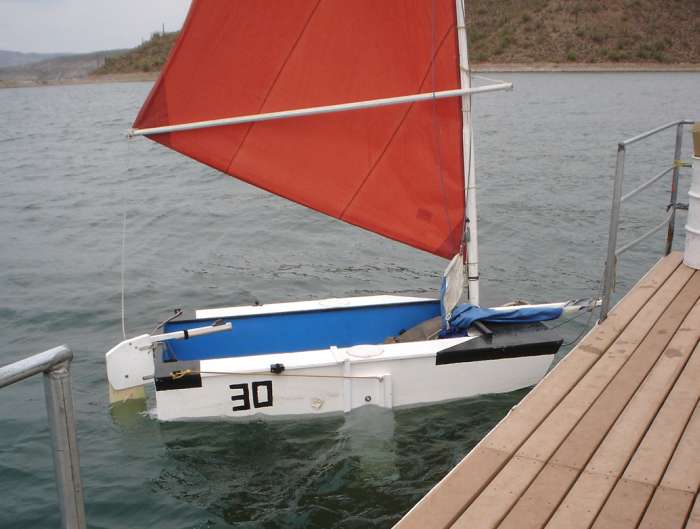
There she is. Very different feel, before it was very comfy to sit inside sail around. I could lounge around, lean against the sides in various poses.
With this configuration, I am sitting on the sides which makes it easy to lean way out to counter balance the sail and get more speed, but the trade off is no back rest anymore so she is a lot more effort to sail.
She is also a very wet ride since the sides are so low and the bow is very low. Very easy to splash water over the edges and dig the bow down into waves.
The bucket lids are not placed in the best position. If stuff slides to the aft of the air tank, it is hard to get it out. That plus I found that I really don't need that big of a lid, and later I just use 6" or 8" marine deckplates. Everything about sailboats is a compromise....
16" High Hull -- Full Length Side Airbox Configuration
What is great in theory, doesn't always work out as well in reality. I only used the above hull configuration for a short while and ended up building another hull configuration.
This is my current hull, she has 16" tall sides and full length side airboxes. The side airboxes are nice to sit on for hiking out while racing, but they are not too wide so when I want to sit inside and lounge around, there is enough room to do that.
If I knock the boat over during a race, the hull will float high and when righted, there is almost no water in the cockpit. For more info, see the emergency floatation page.
This configuration has become the 2nd most popular configuration in our club. More of an explanation is on the 2006 loaner boat page.