
Making a Polytarp Sail by Sewing
The Duct Tape Sail Making Method is very fast and easy, but if the tape gets wet, it can fall apart. To make a polytarp sail that is more durable, you can sew the edges instead of using duct tape.
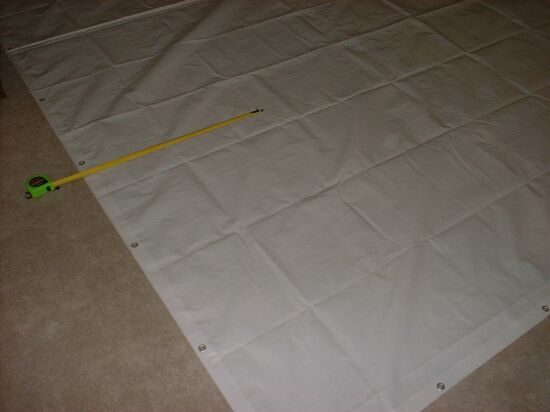
For this sail, I wanted to do the technique where the original edge of the polytarp is used, and then make a "dart" to create the shape of the sail. For info on where to locate the dart, how many darts to make, see the sail shaping essay.
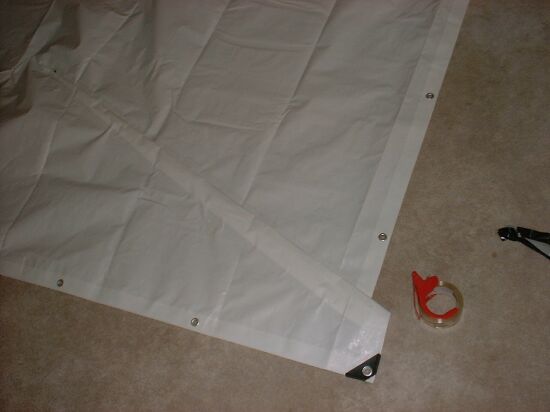
The dart on this sail is folded from the tack area and the point is up in the sail. You can pin the dart in place like people do when sewing regular stuff, or you can use packing tape to hold the seam in place.
The nice thing about packing tape is it doesn't stick very well to polytarp, and you can pick it off later. If you try to use duct tape, the needle of your sewing machine will get stuck on duct tape and will prevent you from sewing properly.
With the dart held in place, mark the rest of the sail.
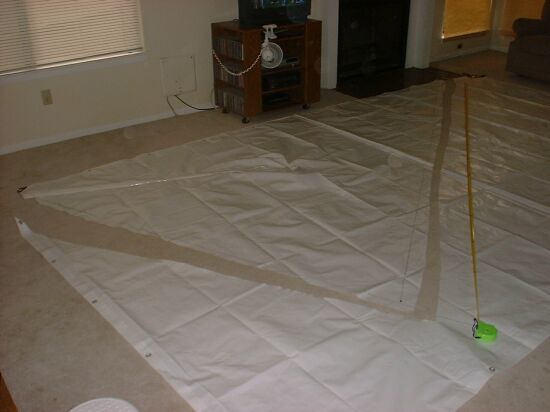
One technique you might want to do is isntead of straight lines, you can curve the lines slightly towards the inside of the sail. This is called "hollowing out the leech" and keeps the sail from fluttering.
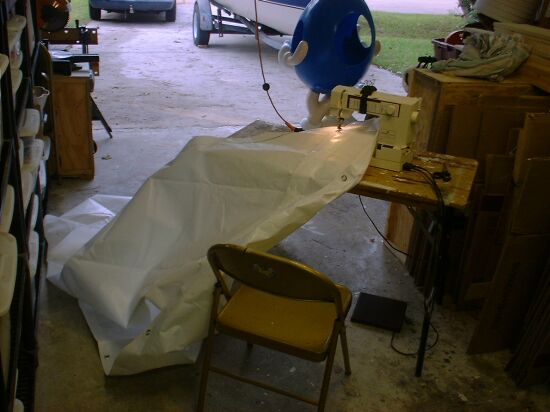
To sew the dart, roll up the extra material of the sail so you can get the dart area into the sewing machine, and sew the edge of the dart down. You will need to repeat for the other side of the sail, and get the other edge of the dart.
Some people use a zig-zag stitch because it spreads the holes out that the threads make. My machine doesn't do zig-zag so I straight stitch with a wide distance between the thread holes. I usually do 2 lines that are about 3/16" apart.
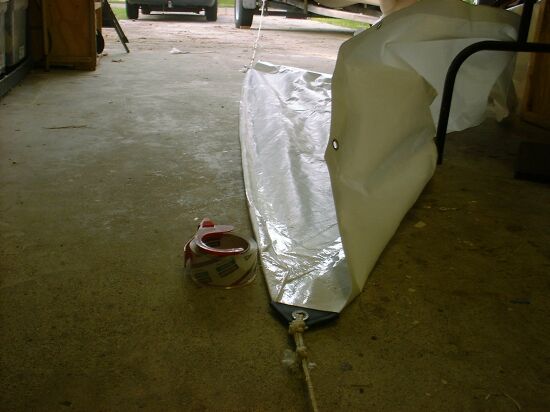
Now it is time to sew the foot and leech. To do this, need to fold the edge over and then tape into place. I fold it twice, so the cut edge is tucked inside the fold.
Making that long fold is rather difficult by free hand, so one technique is shown here, you stretch the material, then fold and tape.
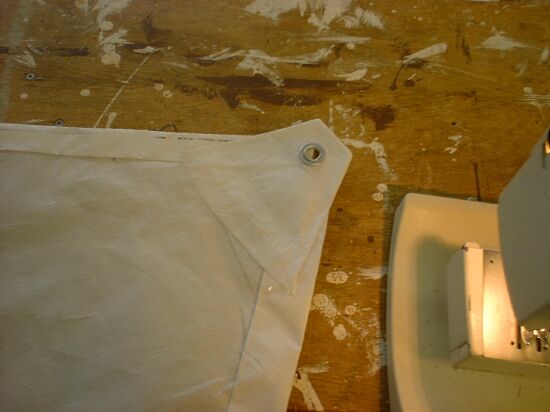
You can see here, I screwed up and created a little bit of curvature that bends outwards. It should be curved towards the inside of the sail.

Since this is a mutton sail the luff is the only edge attached to the mast and uses the original edge of the polytarp & it's grommets. The foot and leech do not have bolt ropes in them, and are smooth edges to let the air flow off the sail.
So here is the problem, the sprit boom and main sheet are both attached to the clew (aft corner of the sail) and that puts a LOT of stress on that point. To absorb that stress, you need what is called a corner patch.
I am going to make the corner patch from this scrap piece of polytarp that has a grommet and some bolt rope in it.
Fold it, sew it into place and presto, the sail is finished. Lets go sailing !!!