
Sera Mun, 3D and ready for a topside.
By BGunnI wanted to post an article showing some of the steps leading to the 3D condition.
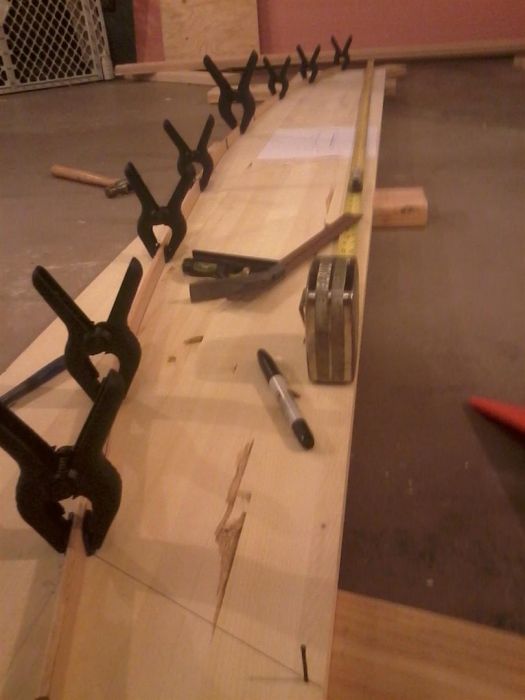
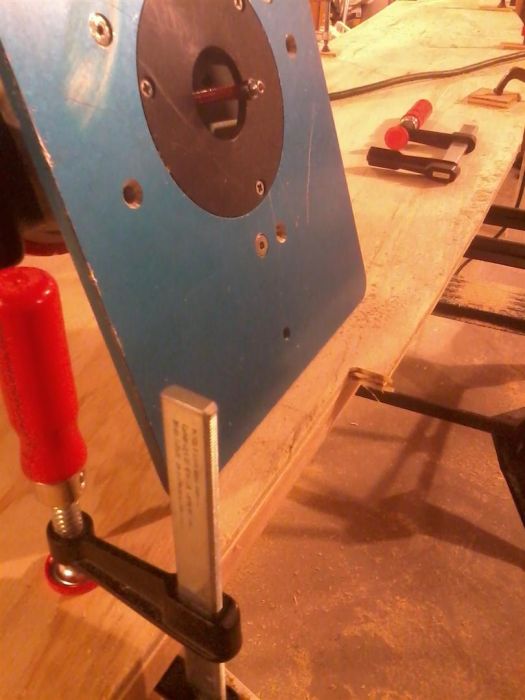
I took the time to lay out my hull profile on a template. This allowed me to use a router and a trim bit to create four exact duplicates of the hull profile.
I constructed her out 3/8' under-layment plywood, the type used under vinyl flooring, which has one good side, few voids, and an exterior grade glue. The 3/8' ply made her heavier, but stronger to endure the chop on Puget Sound. I used PL Premium 3x construction adhesive with stainless screws.
The concrete floor of the carport was very uneven and sloped, so I had to build a cradle and level it before I started construction. This ensured plumb and square joints all around.
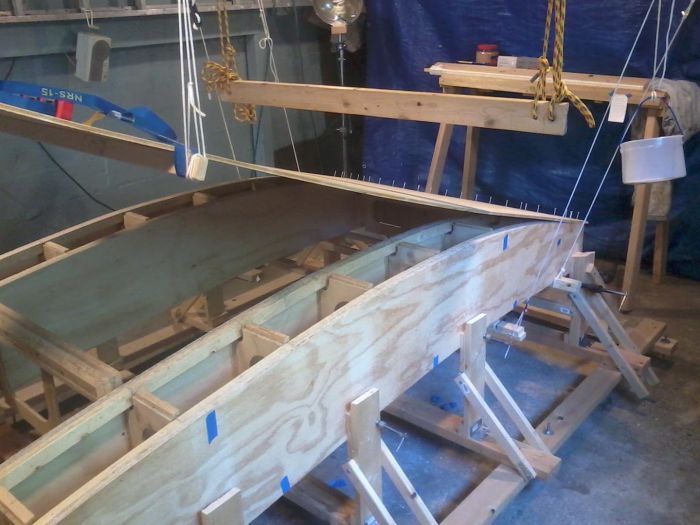
I rigged a rope and pulley set up so that I could lay the hull in place at an angle along the stern of the boat. This let me glue and screw tight the hull then clamp a little forward and screw down the next station. Moving from back to front I was able to get good clamping pressure and quickly screw down the hull. I dry fit the hull so pilot holes for screw with counter sinks were all done in advance. Finishing with the more gentle curve of the bow was much easier, and faster, than making the final clamp aft, as I did during the dry fit up.
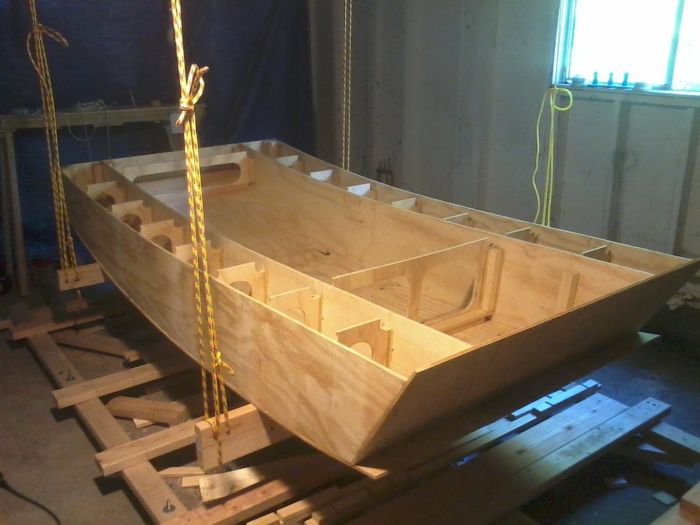
I flipped her and lifted her in the rope cradle for fitting out of the inside with mast step framework, and chines for the decking.
I took the time to lay out my hull profile on a template. This allowed me to use a router and a trim bit to create four exact duplicates of the hull profile.
I constructed her out 3/8' under-layment plywood, the type used under vinyl flooring, which has one good side, few voids, and an exterior grade glue. The 3/8' ply made her heavier, but stronger to endure the chop on Puget Sound. I used PL Premium 3x construction adhesive with stainless screws.
The concrete floor of the carport was very uneven and sloped, so I had to build a cradle and level it before I started construction. This ensured plumb and square joints all around.
I rigged a rope and pulley set up so that I could lay the hull in place at an angle along the stern of the boat. This let me glue and screw tight the hull then clamp a little forward and screw down the next station. Moving from back to front I was able to get good clamping pressure and quickly screw down the hull. I dry fit the hull so pilot holes for screw with counter sinks were all done in advance. Finishing with the more gentle curve of the bow was much easier, and faster, than making the final clamp aft, as I did during the dry fit up.
I flipped her and lifted her in the rope cradle for fitting out of the inside with mast step framework, and chines for the decking.
Keywords For This Article:
hull_template