
How I came to build my first boat - part 7
By Thomas Mauer #537 "Water Dancer" (2ea 2ad 12ar)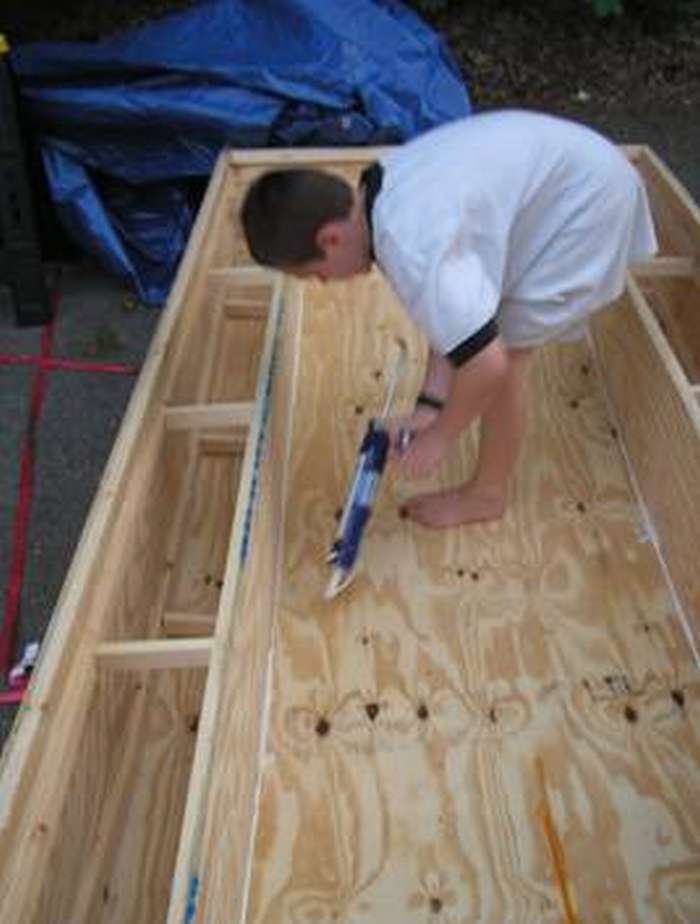
There seems to be a theme to our build over the last month or so… it involves water falling from the sky. The frustrating part is that it only seems to do this after I get home from work, or on the weekends. I really wish I had a garage, or barn, or a big shed. Ah well, some of us have to build outside. It's nice to work out in the sun… when I can find it!
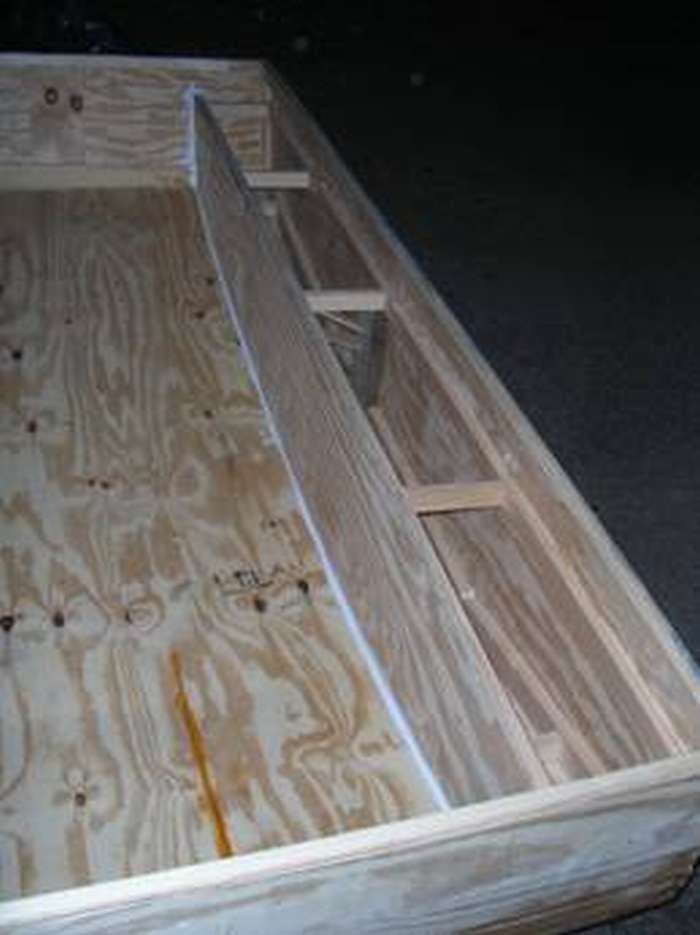
So this week it's only raining off and on. More off than on actually, but the "on" tends to be when I am available to work on the boat. One evening I got home a little early and fooled the rain, so Vaughan grabbed the caulk gun had me flip the Dancer over. He set to caulking all the seams on the inside of the boat. He did an excellent job too! I went along behind and pointed out if there may have been a gap. If we missed anything, I'm sure it's my oversight. =) While he was working we must have attracted the notice of the rain spirits and it quickly clouded up, so it was back up on the saw horses and cover her up again.
So now we are stuck. There really isn't much we can accomplish in the rain and a quick rundown of what's left leaves us with little to do. We have the airbox decks roughed out, we still need to trim them a bit and put them on. We have a reinforcement for the mast sleeve that will attach to the top of the airboxes, when they are installed. We have two buckets of cat litter just waiting to be cut for hatches. (The cat little buckets won out based on economy, we needed hatches and the cats needed litter. Everyone wins!) We could cut the holes for the hatches but we need dry weather to glue them in. We need to glass the foils, and we can't do that in the rain. We need to put on a second coat of glass over those insane wall tapes we attached weeks ago, again we need it to be dry. We need to glass the bottom of the mast… again with the wet. We need to glue in the mast step, but that would require the boat to be on the hull… and if we do that she'll fill up with water, and we're not ready for that yet. We need to prime and paint everything!
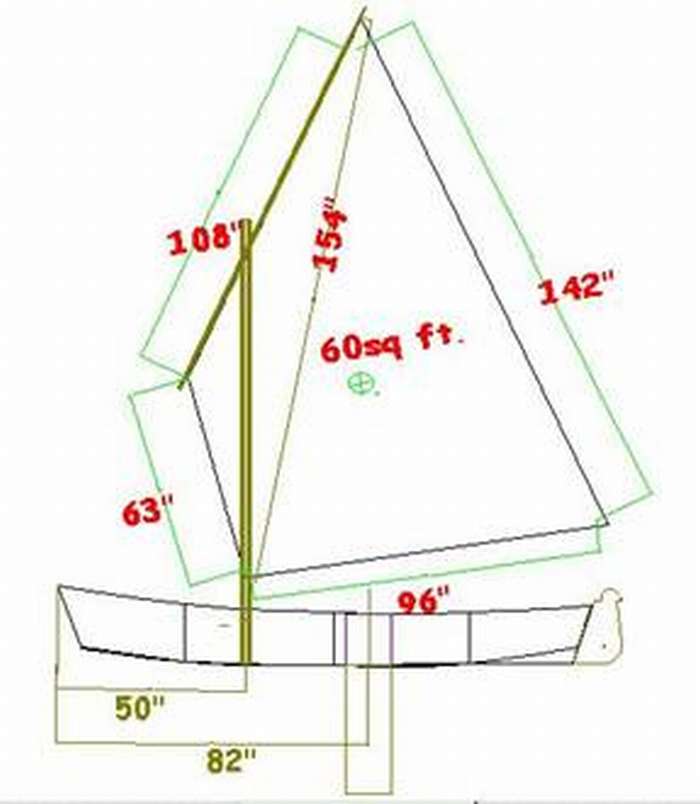
Looking at that list this leaves me little choice if I am going to move forward. I need to make a sail. In this case where my sail is concerned Dave Gray of Polysail International was and is awesome! I'm sure when budget allows I will be buying a sail from his site. At this point I coerce my wife's best friend, an accomplished seamstress to 1. Loan me a sewing machine and 2. Show me how to use it. She came over on Saturday and showed me the in's and out's of her old machine and then set me to stitching odd bits of cloth and then bits of tarp. After a couple of hours she deemed me safe and of passable ability and let me go. Sunday I began working on my sail. With the placement of my mast and my leeboard I think my best bet was a lug sail designed by Dave Beede for his Duckworks award winning boat Summer Breeze. You'll notice that his mast is at 50" and his leeboard is at 82", by my math that's 32" apart. My mast is at 16" and my leeboard is at 46", and by my calculations that is 30". That's pretty close, in fact it puts my leeboard about 2" ahead of the COE and as I understand it that's not a bad thing. I figure if I have to I can hang the sail as a balanced lug instead of a standing lug and try for a better balance that way if I have to.

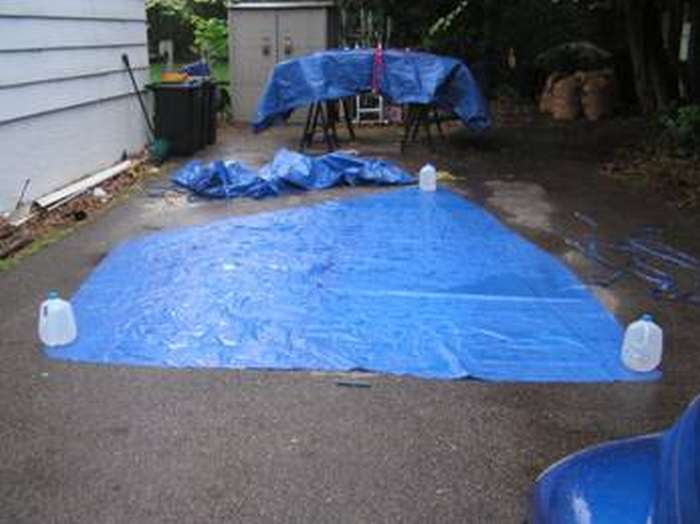
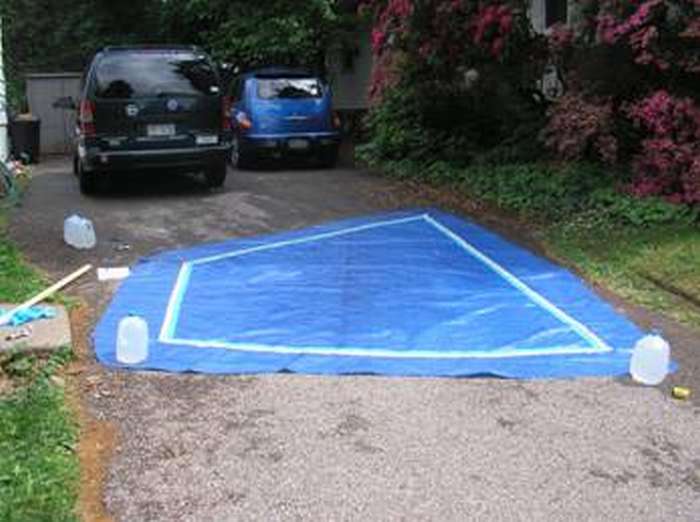
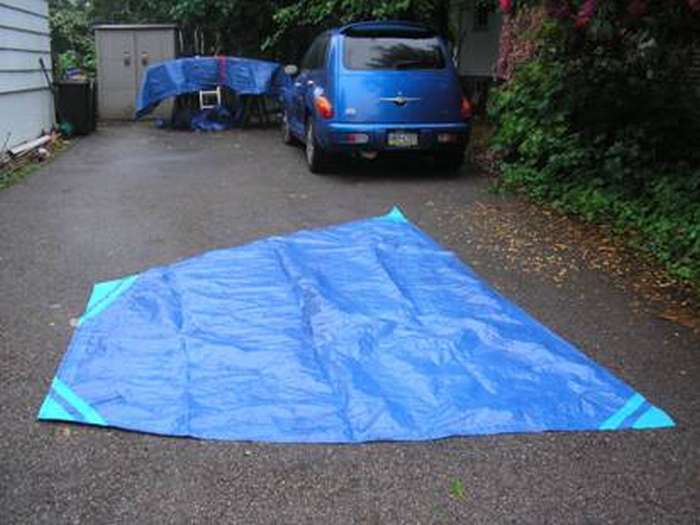
Out to the driveway! I move the cars back down to make room and I lay out my tarp, and using milk jugs filled with water to hold down the edges I start measuring and laying out 1x2's to get a feel for the size and shape. Notice that the pavement is dry.
Using a sharpie pen I then drew out the flat shape of my sail. After that I used the advice of Dave Gray and left the luff strait, put a 2" hollow in the Leach, a 2.5" in curve on the head (curved up), and a 2.5 - 3" curve on the foot (curved down) and marked that out with my trusty sharpie… well almost. Guess what happened? I'll give you three guesses, but the first two don't count. It started to lightly rain on me. My pen didn't like drawing on wet tarp, and it took me three pens to get through. I then rough cut the shape leaving 6-8" around my drawing. Notice the pavement is now dark with rainwater and all the little puddles on my sail.
Then I grabbed my sail and ran in the house like I was gonna melt. I muttered about deleted expletive Philly weather and trying to meet deadlines. I had lunch. I drank tea. I looked out the window. I played Zuma on Facebook. My lovely wife informed me the sky had stopped falling and it looked to be drying out some. I grabbed my sail, my carpet tape, and a bit of cheap poly rope that I had de-braided from three strands down to its component parts.
I laid out my sail and put down my carpet tape. Then I put down a second line of carpet tape. This was in the spirit of probably overbuilding everything on my first build. I figured a thicker hem would hold better. I then put my rope down. I know now I messed this up. I pulled up the tape backing before I folded and creased my tarp on the seams. So I had a hard time folding it over. I should have put the rope in that seam, but instead I put it on the outer edge of the tape, and trying to work quickly sometimes it wasn't really on the VERY edge of the tape.
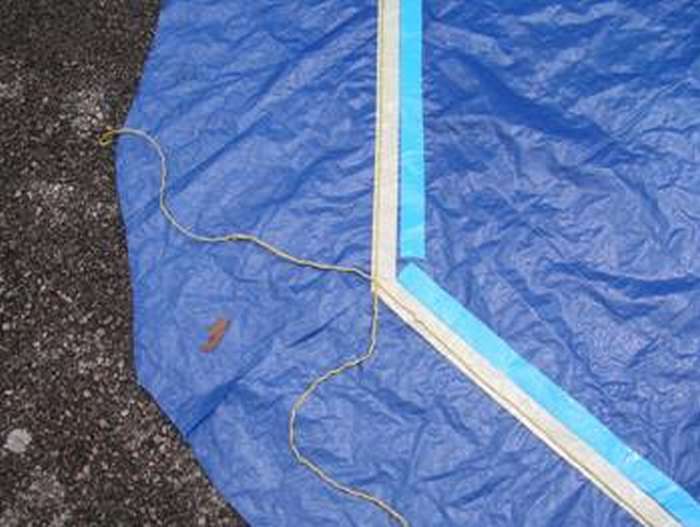
Then I pulled up the backing on the second line of tape and began folding the tarp over to create a hem. I'd like to say wow is that carpet tape strong! Again I really wish I had made the creases BEFORE I tried folding it over. This is a mistake I will not make again. Eventually I got it all folded over, and then trimmed off the excess. Remember how I keep chanting throw nothing away? I kept the backing for the carpet tape. Why you ask? Because it's very lightweight and it's color compliments the intended color scheme we/I have for the finished boat. We will use the tape backing on the mast and or the peak of the sail as a wind indicator. One less thing to buy!
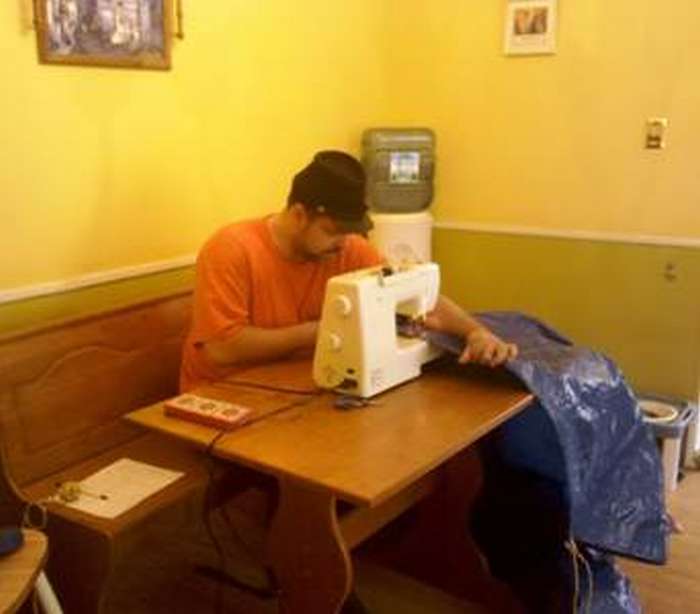
At this point I take my sail into the house to tryout my newfound sewing skills. The following photos are not very flattering to the author, but they do show that with a good instructor and lots of patience you CAN teach an ape to use complicated machinery.
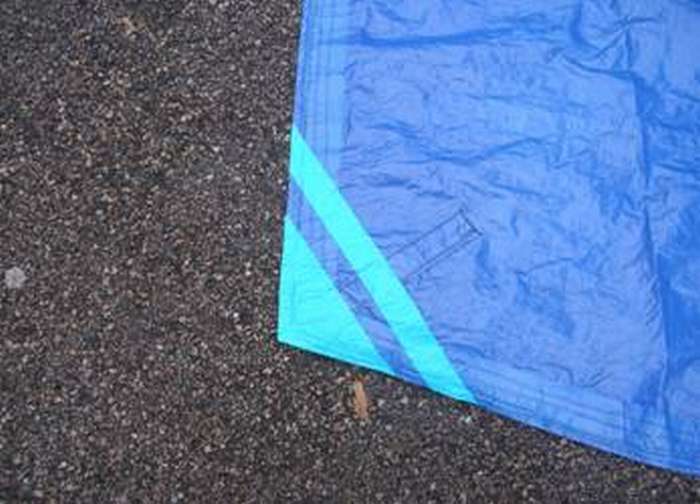
I want to be REAL sure that my seams held, so I use as wide a zig-zag pattern as my loaner machine could handle and I made four, count 'em four lines of stitching. I used upholstery thread and a needle intended for denim. Once that was done I grabbed some scrap tarp and made darts to reinforce the four corners and then sewed them onto my sail. Lastly just because we thought it looked cool I used colored duct tape to re-reinforce the corners and for a little contrast. Notice that again the driveway is wet… it was raining the whole time I was sewing.
I still need to put in the grommets and then strap this thing onto some lumber. I still have to varnish that lumber, but I have to wait for a clear day. Here's to hoping that we get some better weather.
Next time: The rapture, half a sunny weekend, and only 13 days to finish before we set off the messabout… will we actually finish in time?